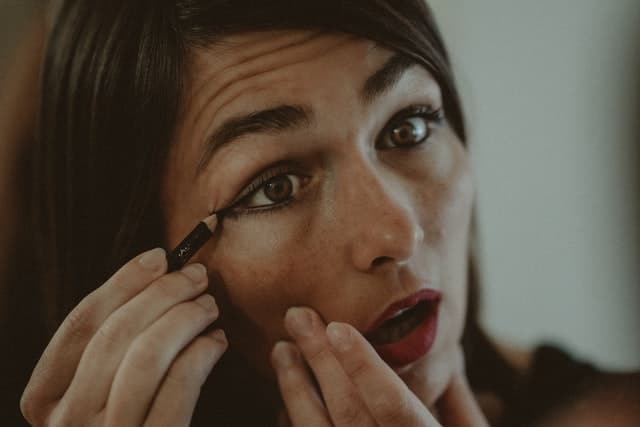
How To Draw Eyeliner With 15 Surprising Tips Every Woman Should Know
There is no doubt that eyeliner is indispensable for good eye makeup and now plays a very important role in our lives.
From the moment we start applying makeup, we all worry about getting it right. But after these tips, there will be no need to worry.
But the truth is, we need the right techniques to draw the perfect eyeliner. It is not easy to get those eyeliner styles that we love when we see them, but with the right products and techniques, you can get even the cat eye makeup you desire.
If you can’t draw the eyeliner the way you want, try these methods. We have prepared this article on ”how to draw eyeliner” so you can find our best eyeliner suggestions below.
How to Draw Eyeliner?
1. Start by learning the types and features of eyeliner
- The pens: The pens are very easy to apply as they do not smudge, but they do not look as dense and smooth as liquid and gel ones. Its disappearance during the day depends on its quality.
- Gel eyeliners: easy to apply with their matte and fluid structure and it is very difficult to spread. It is applied with a brush when purchased in small containers, not in pencil form.
- Liquid eyeliners: create a very distinctive and sharp look. Usually, the lid comes in a small tube with a brush. It can also be in the form of a brush pen. It may take time to dry after it is applied.
2. Each color creates a different effect.
- Black: Creates bold and striking looks.
- Blue – Green – Purple: It gives a very fashionable image.
- Gray: Creates a brighter and softer look.
- White on bottom eyelashes: Perfect for bigger-looking eyes.
3. If you are not used to drawing eyeliner; Make your job easier by putting dots
If you don’t have much time and you think you cannot succeed, First, put dots on your lashes.
Connect the dots according to the shape you want to and let them dry. Over time, your hands get used to it, and points are not needed.
4. Lines
You can also use lines instead of dots. Choose whatever is the easiest and most convenient for you. In the meantime, choose between liquid, gel or pen.
Your trials will make you perfect.
5. Drawing from the tail

How to draw eyeliner
First, draw the tail of your eyeliner, then draw a thin line from the bottom of the eyelashes and connect it to the tail.
Beginners to the application of eyeliner can first draw a thin line and then thicken them if they wish.
You are more likely to make mistakes when you apply a thick line directly. Finally, draw a line again from the fountain of the eye to the tip of the tail in one move and that’s it!
Sometimes the eyeliner you apply to both eyes may not be equal. In this case, you can make your eyeliner a little thicker and equal.
6. Get help from a credit card
No, not for buying a new eyeliner. You can use hard, flat objects such as credit cards or business cards to make things easier while you are drawing a queue.
Align your credit card from the outer corners of your eye to the tip of your eyebrows and follow this border to create your eyeliner tail.
7. Caution to the elbows!
Getting support from a fixed place with your hand on your cheek and elbow while drawing the eyeliner will be useful.
First, sit down and rest your elbow on a flat surface. Reduce the effect of your shaking hand by supporting your cheek with your little finger.
8. Draw and Clean
If you are a beginner, spread the eyeliner, then clean the excess. If you don’t have enough time to specialize in drawing eyeliner, this is the best method for you.
Even if you are not good while drawing, you will do wonders while cleaning.
9. What if it doesn’t happen?
If you do not like the result, create a smoky look by distributing your eyeliner with the help of an eye shadow brush.
10. Are your eyelids small for eyeliner?
If your eyelids are small for an intense eyeliner line, show this line lower by filling your upper eyelashes with a black pencil.
See Also:
How to put eyeshadow without a brush

As a nutritionist, I research, find and experiment with recipes, natural diets and meal plans for weight loss, bodybuilding, and detoxing.
